This week Amy challenges us to share our thoughts and images from around home. She writes, “We are looking forward to seeing your photos and stories at home, and perhaps your yard/garden, pet, kids, collections, kitchen/cooking, and more.” You can read her entire challenge post here. This challenge gives me the opportunity to share a new technique I learned that has kept me busy learning photo processing software and creating new and interesting images.
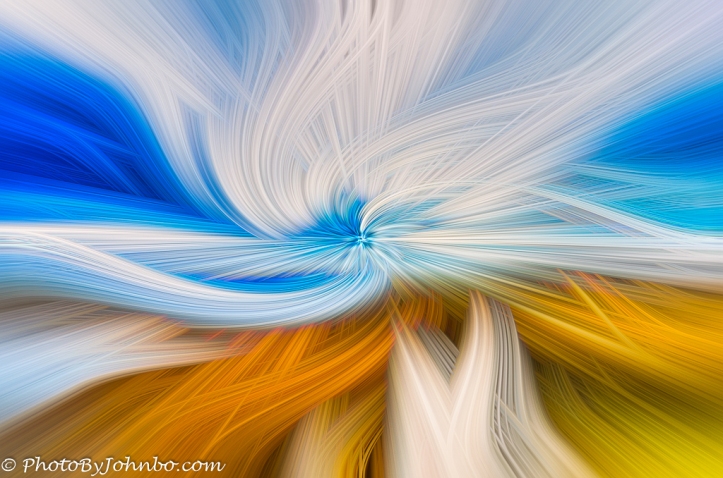
Returning from our winter in Arizona, we knew we were in store for a state-ordered 14-day quarantine. We’ve been home bound with only the occasional journey in our condo yard since April 15. Doing the math, we are finished with our 14 full days as of the 30th, the day this post publishes. Thanks to friends and family, we acquired some equipment to create a “home gym” of sorts, started a collection of puzzles lent to us, and I started a project that ultimately taught me some “trick photography.” The opening image is an example of a Twirl. This is a technique that is done in Photoshop (or in my case, Photoshop Elements) that takes any photo you have in your gallery and converts it to a geometric image. The good news is that all sense of the image is lost and you can make the color balance, tints, and other characteristics whatever you want. No one will criticize that “your photo is unrealistic,” because it is.
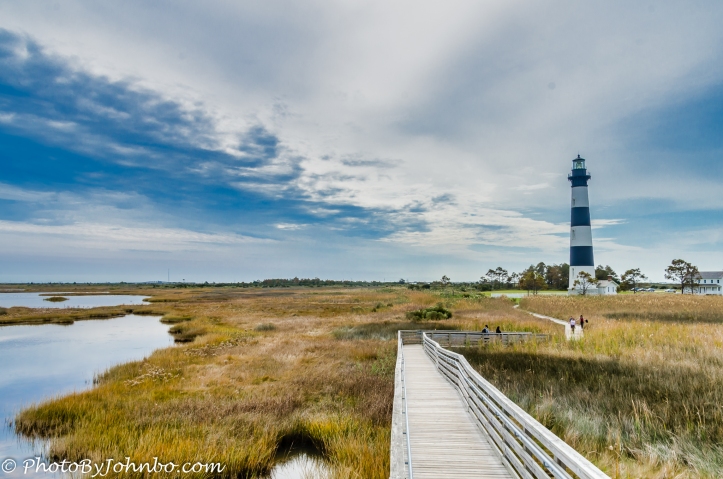
 OK, true confession, I didn’t use images from my home, but the creation of the twirls I’ve created were all done here at home. That’s my connection to this week’s challenge. I learned something new, I created a collection of images that I will put into a calendar to share with friends and family and it has given me a “how-to” topic for a future blog post. That’s a win-win-win in my book, but best of all, it’s been a worthwhile diversion during our quarantine. It’s almost hard to believe that opening image was created by manipulating this photo of a lighthouse.
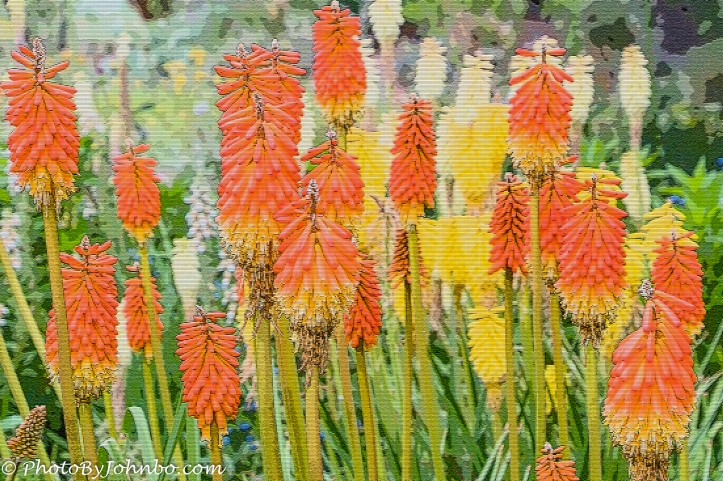
 This twirl was created from an image captured at night. It was a bit of a challenge learning the technique. There are many videos demonstrating a how-to on YouTube which is where I started. Those videos, however, focus on Photoshop which is the tool that has the chops to do the geometry. However, being a cheapskate and unwilling to bow to the mighty Adobe’s subscription program, I use Photoshop Elements (PSE). While it has all the ability to do this job, the menus and options are different creating a need to learn some of the artistic tools in PSE, I had to find and tweak the settings in a different interface.
 The original image for the low key twirl came from a night shot of Baltimore Maryland’s Inner Harbor area. The project gave me a new level of experience in the artistic features in PSE and will ultimately give me the impetus to reach out and experiment with different tools to see how I can put my own stamp on a similar manipulation.
 Probably my favorite twirl happened to be the first one I did. It helps to start with a colorful image. Once the manipulation is done in PSE, It isn’t nearly as vibrant as the final images appear to be. While I could do that adjustment in PSE, my favorite tool for processing is Luminar, now at version 4. I export the image from PSE into Luminar and make those final tweaks.
  This is the original image that when you view it alone, is extremely colorful in its own right. When I compare them next to each other, however, it’s easy to see that I really ramped up the colors in Luminar. It’s “art” and I’m allowed to do that. So there! >grin<
 I leave you with a selfie using layers and masks in PSE to put my mug on one of the twirls I created for the calendar set I’m working on. I conclude this post with a reminder that most browsers will allow you to select an image to enlarge it for a better view. Thanks to Amy for the opportunity to show off some of the fun I’ve been having as we’ve been quarantined here in our home in Fargo.
John Steiner

Fantastic shots!
Thanks!
Wow… Your creation of these twirls are amazing! The last image is really cool!
Thank you! This week I saw a variation on the process in another blog I am following that integrates the twirled image into a portrait of sorts. I’m going to have to start working with the twirls to see what else can be done.
Interesting! What you can’t do with digital technology these days.
Indeed!
Amazingly creative John – LOVE the twirls, must give them a try! I was an elements user for a long time and finally went to full PS a couple of years ago. IMHO it is worth the extra cost and it works well with Lightroom. On the other hand, good friends use and love Luminar (which I didn’t muck like) so I guess it depends on your personal ‘druthers! Great response to the challenge, loved it.
Thank you! In another challenge response, I saw an additional tweak to these that allow integration with “more normal” photographs. That will be my next trick to try.
Was it Dina’s post? I really liked the image of Klaus
It was. Great image!
Gorgeous! I tried after reading Dina’s post, but I guess I will have to practice more…Yours are great – got my appetite up again!
Thanks. I learned the basic photoshop process from a YouTube produced by Jim Nix. I just had to find the equivalent menu choices.
Very nice John. I like the selfie, the swirls give you a Dr Livingstone look, exploring the world of twirls.
Thanks. That was a fun exercise. The blog post from Dina, though makes me want to try the portrait technique she used on that image.
Great image. I have an old version of PS and not much time. Maybe one day.
This trick doesn’t take a lot of time once you know how it’s done. With PS, there are lots of videos on specifics. Thanks for stopping by and commenting.
Thank you for the encouragement, Johnbo. I’ve only just discovered filters. Once I can get some peace and quiet in the house, I will have a play around. 🙂