Florence, Oregon.
U.S. Highway 101 is one of the premier scenic drives in the United States. It runs from southern California to Washington, much of the way along the Pacific coast. When I was a youngster in school in Long Beach, California, I learned that the highway is also known as El Camino Real (Spanish for the royal road, or the king’s highway.)
In southern California, that name was derived from the fact that it loosely followed the trails between Catholic missions that were about a day’s walk between them. However, once you get to the more northerly portions of the highway, it loses the name reference, though it could still be considered a royal road with views fit for a king.
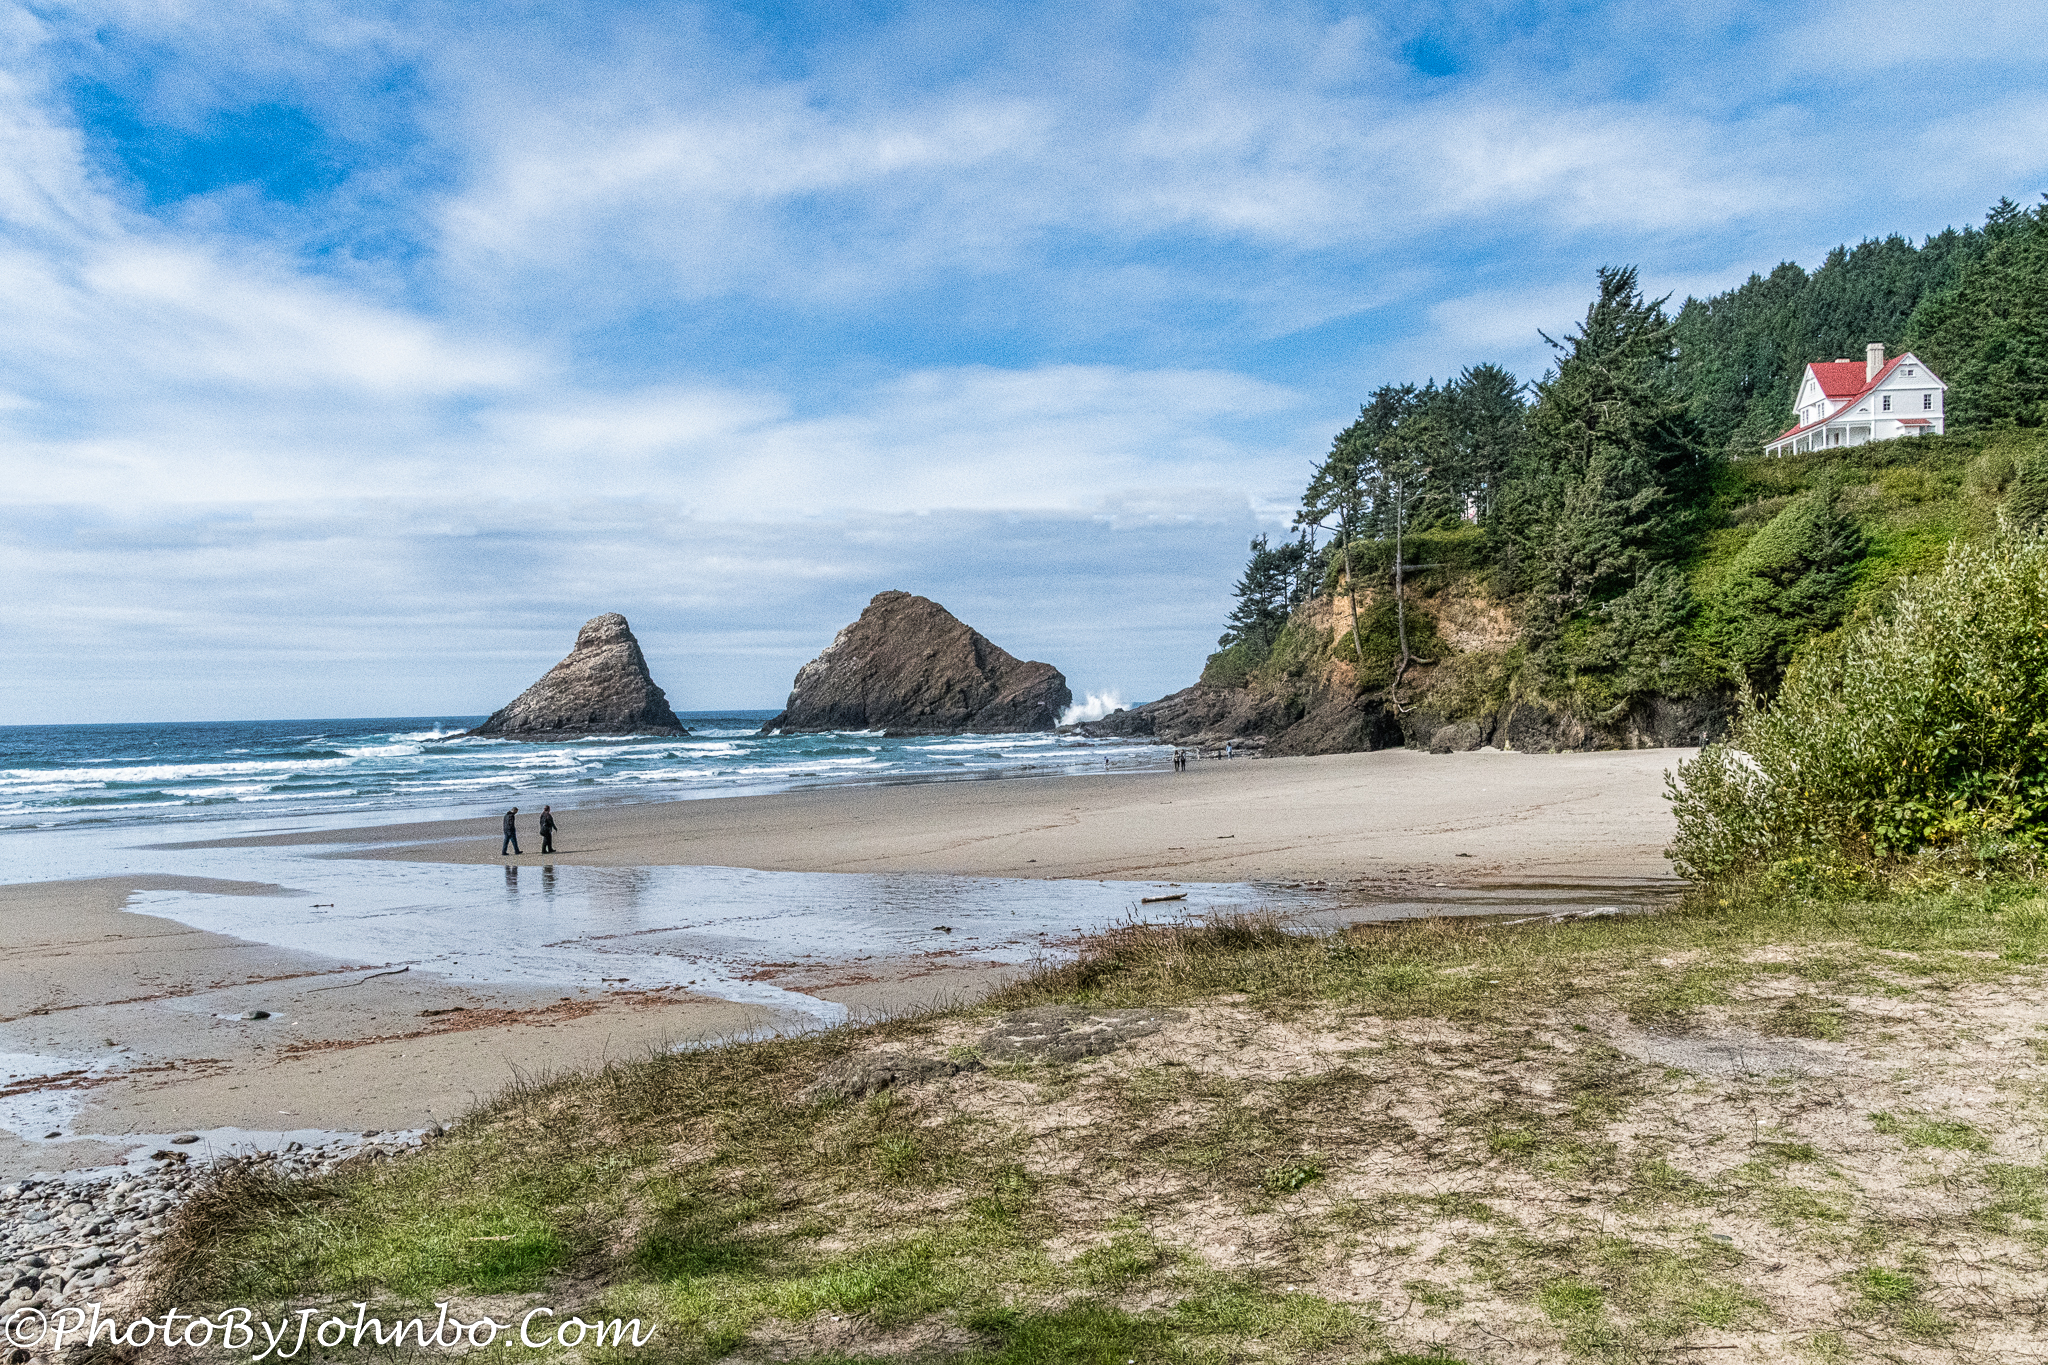
Near the Heceta Head Lighthouse in central Oregon, a sign will take you off scenic Highway 101. The Heceta Head State Scenic Viewpoint in Oregon is a worthy stop. You will wind down a small access road to a parking lot. There is a fee for parking there, but the view of the beach alone is worth $5 USD. If you feel like a short hike, you can take a trail to the lighthouse or even more challenging trails.
The parking lot was relatively full with many people on the beach with an unknown number surely walking the trail to the lighthouse. I noticed that the waves occasionally crashed high on the rocky coastline near two giant rock outcroppings. I waited patiently for a large group of people to move out of the range of my camera. There were now only two people in the opening image’s midground, just enough to help show the scale of the image.

Moving closer and activating my zoom lens, I waited some more to attempt to capture the waves crashing higher than usual. I went about capturing several images with shutter speeds of 1/4000 to 1/8000 second to catch the wave in mid-crash. The image above was at 1/8000 second and the Auto-ISO adjusted itself to 3600 and I set myself a trap for the next few images.

Turning toward the parking lot and the entrance to the viewpoint, I was intent on photographing the unique architectural design of the bridge that carries traffic via Highway 101 across Cape Creek. Construction completed in 1932, the art deco design details popular in that era give the bridge a sense of old-world designs. It was here that I fell into the trap of my own making.
I set the lens opening to f/13 to provide a wide depth of field. Of course, I forgot to reset my shutter speed to a more reasonable setting. After all, the bridge doesn’t need a 1/5000 of a second exposure to stop the action. Trust me, it doesn’t move that much. Compounded by the fact that the terrain around the bridge didn’t receive as much light from the sky, the Auto-ISO setting ended up being 6400.
I had no intention of using the shot once I saw it in my Lightroom catalog. First of all, I didn’t like the composition. I could have done much better. Making lemonade out of this lemon of a shot, I decided to use it to compare noise removal tools. A few months ago, Skylum Software released an extension to Luminar Neo called Noiseless AI. Just recently (as this is being written in late May,) Adobe released a Denoise tool in a recent Lightroom CC update. The three images at high magnification below tell the story.


The winner is clear, Adobe’s Denoise function provides a better job at noise reduction. It does have a limitation right now that isn’t a problem for Neo. So far, as of late May, Denoise works only with RAW images from two different sensor types. From the Adobe blog site, “Denoise is currently supported only for Bayer and X-Trans mosaic raw files, but we’re looking into ways to support other photo formats in the future.” What that means is that most RAW files will work, but not all. Even Adobe DNG files cannot use the tool at this point. Of course, neither can JPG files. The article I found on the Adobe Blog describes in great detail the tool and its best practice uses. There are plenty of samples and examples to check out. Read the article here.
Neo’s Noiseless module works with RAW, DNG, and JPG files. I ended up using the Neo-processed file for the bridge image even though the noise level is slightly higher than the Lightroom Classic file. I’d tweaked the image slightly differently and the clouds had more detail than I drew from the Lightroom version.
I also noticed that the Adobe images are slightly less sharp on object edges. That is really a minor nitpick as the sharper edges of the Neo image are marred by a higher level of remaining noise. Finally, I don’t have personal experience with Topaz Labs DeNoise AI, but everything I’ve seen points to DeNoise AI doing a better job than either Denoise or Noiseless. For my use, as I already subscribe to Lightroom and I have Neo for JPG and DNG files, this experiment told me that I don’t really need to buy the Topaz Labs add-in. After all, I don’t do much low-light photography and if I can just remember to check my camera settings before I shoot, I wouldn’t need noise reduction at all. >grin<
You can view these images in 2K HD via my Flickr album here.
John Steiner

Beautiful sky and sea view.
Thank you for the information about US Highway 101.
Thank you! Highway 101 is a beautiful scenic drive, for sure.
I love the subtle colours in your photo John!
Thank you!
[…] John’s Cell Pic Sunday […]
Amazing shot, especially when viewed in full size, of a beautiful scene!
Thanks. There is no shortage of beauty on that drive along the coast!
This is beautiful John. Your patience paid off. I’ve only seen a bit of the Oregon coast but it is dramatic and beautiful. We photographers often spend time waiting for people to get out of our images.
“…waiting for people to get out of our images.” Isn’t that the truth!
It’s hard not to take a good photo of the ocean along the Oregon coast.
Sometimes I try to dramatiall patiently wait so people can tell I’m waiting but I’m not trying to get them to move. Polite people get the hint.
Yup. Been there, done that! 🙂
[…] Johnbo’s CellPic Sunday […]
Your image of the area is perfect, John! Sadly I have never been up the length of 101, although I have driven a few spots of it in Central CA near Pizmo Beach. I read you had a visit with Marsha in Prescott? How fun–she is my bestie!
Here is my link for CP Sunday. And as always, thanks for hosting! https://secondwindleisure.com/2021/12/12/sunday-stills-monthly-color-challenge-metallic-taste/
It was indeed a fun visit. I always enjoy meeting my blogging colleagues.
Thanks for stopping by and commenting!
The invitation is always open when you can make it by Spokane or Coeur D’Alene. My hubby ALWAYS loves meeting my blogging friends 🙂
A remarkable image. I love the composition, the blue sky, red roof, rocks,…
Thank you! The light was perfect for capturing a softer look given the partly cloudy sky shading the sun for that moment.
Beautiful image! I love that coastline. They were fixing the lighthouse when we were there. I have to go back.
Thank you!
We didn’t take the time to walk to the lighthouse as we had some miles to drive before our next hotel stop.
We will have to stop there again as well.
😊
I didn’t know they were charging for parking there. Guess it’s been awhile. I love your photo brings back wonderful memories of when I was there. 😀
Thank you! It is worth the fiver.
Most definitely if you are hiking or picnicing in the area. 😀
[…] entry for Cellpic Sunday […]
Nice photo. The rocks in the water reminded me of a place near to where I live. I was looking for a photo of it but came across this instead [which is nothing like it]
Thank you!
[…] Johnbo’s cellpic Sunday […]
[…] Hi all 😃 This shot of some frost patterns on a car roof is my latest post for Macro Monday & John’s Cellpic Sunday. […]
[…] post is part of John.S’s Cellpic Sunday photo challenge. Thank you […]
My contribution
https://philosophyvia.photos/2021/12/13/if-life-gives-you-tomatoes-add-vodka/
You just made me homesick, John! I love the beach! Great picture. I can smell the ocean air from here. 🙂
I always love the opportunity to photograph the ocean. Since I don’t live near the sea, I cherish my time when it is close by.
[…] Stills – “Metalic Taste.” I also want to include Journeys with Johnbo’s Cell Pick Sunday Challenge Jez’s Challenge, “Fan […]
[…] John’s Cell Pic Sunday […]
[…] an earlier post here, I featured another view from just south of the point in the photo above. We are about 10 minutes […]
Many a long few minutes have been spent waiting for “that” wave to give “that” splash too 😁
Indeed!
Such a beautiful area! We drove on 101 from Washington to just north of San Francisco. We stopped at the Sea Lions Cave in Oregon and had a great view of the Heceta Head lighthouse. I really enjoyed seeing your photos of what we were looking at.
Thanks! It is one of the most beautiful drives in America.
I agree! We drove south pulling a fifth wheel trailer. We pulled over at all of the overlooks big enough for us to park.
I love the shot of the waves crashing on the rocks! And an interesting exercise to compare denoise tools. I have Topaz DeNoise AI and am very happy with the results I get from it. I also now have Topaz Photo AI which can do several jobs at once, including denoise and sharpening. I find myself increasingly turning to that if I’m not happy with the overall appearance of a shot. I’ve never really got on with Luminar, I don’t like its workflow, so I use that much less often these days and wouldn’t pay for any of the new extensions.
I understand. That is my feeling about Photoshop. It is far too complicated for my little brain to understand. 😉
It’s not so much the complications – I don’t like the way I have to import images (rather than drag and drop as with Elements or Topaz) and I don’t find the editing workflow so intuitive.
I stick to Lightroom Classic because it does a much better job of managing my catalog than Luminar Neo, even though using it adds an extra step. Also, Lightroom Classic does a couple of things that Luminar isn’t as proficient doing.
To help with Luminar’s edit menu, I selected my most used tools as “Favorites” so they all appear right at the top of the tool list. Then, if I need something less usual, I can go find it in the main menu structure.
I think zoomed out your image of the bridge is still a beautiful picture, John. I know some photographers (and judges in photography salons) can be really nitpicky about the technical aspects. I on the other hand find myself on the side of those admiring the subject of the photograph rather than the photograph itself.
Truth is, I’m guilty of what you write, Dries. I often fret about the flaws in the photograph forgetting why I took it in the first place.
Nothing wrong with striving for perfection, John!
Great photos, John. The wide shot of the bridge is beautiful. Indeed, it’s quite a unique one.
Thank you for sharing!
Truly that bridge is beautiful.
Great capture of the waves crashing upon the shore, John.
Thanks!