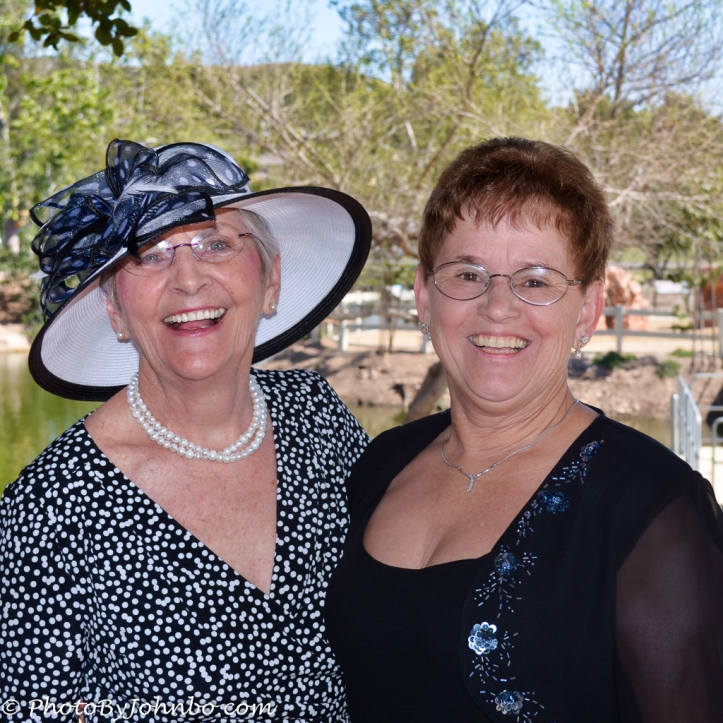
OK, so I’m not a portrait photographer and I don’t claim to be. Turns out Luminar 4 might just make me a portrait photographer that could make me happy with my work… if I can get the camera to focus on the eyes. I scoured my gallery of images to find snapshots that I could somehow justify in the name of portraiture. I didn’t find any. But I did find some images that were captured at a wedding in San Diego some years ago. The snapshots I found included an of my sister and an in-law, and, a solo image of my wife. The opening image features my sister, Veronica (we call her Babe), and my nephew’s wife Edwina. I chose this image to tweak and share because I got the focus right, the fill flash did its job under the shade tree that kept down the sun’s glare, and it allowed me to test whether or not the portrait adjustment controls would work on multiple individuals. I was pleased to find that indeed it does. All portrait adjustments operated on both people simultaneously. That’s smart Artificial Intelligence software.
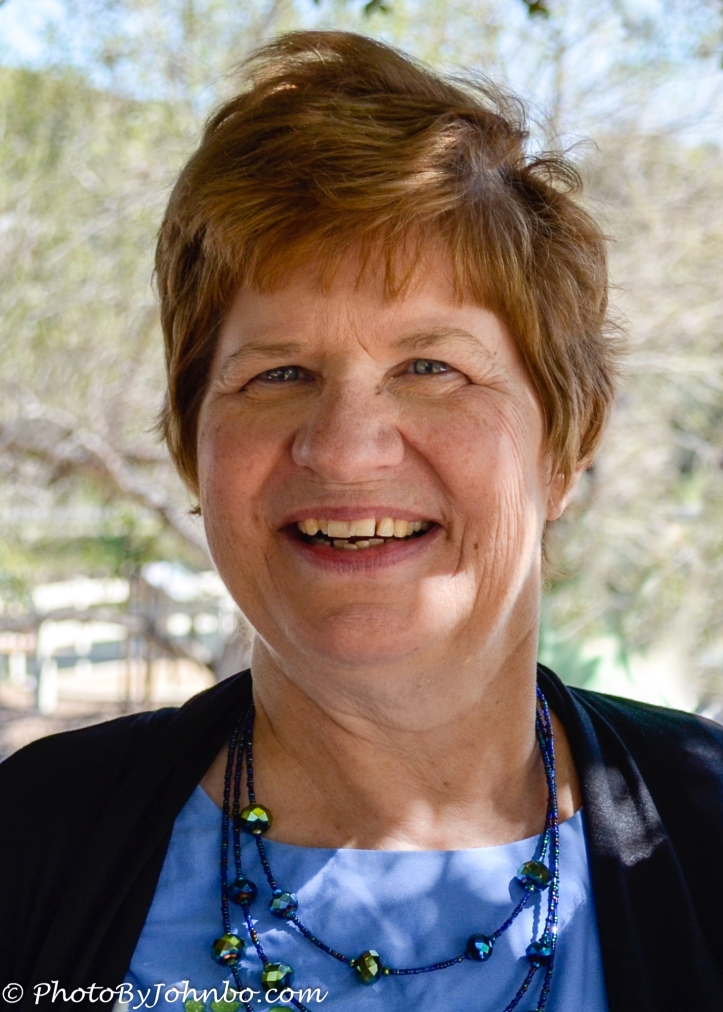
 The image I chose of my wife, Lynn, was the only image of her that I got where her eyes were completely in focus. Unfortunately the fill flash didn’t fire on this shot, so her face was darker than I liked, and it is marred by the sunlight coming through the trees and hitting her face. The image above is the final image after using the many portrait enhancement tools built into Luminar 4.
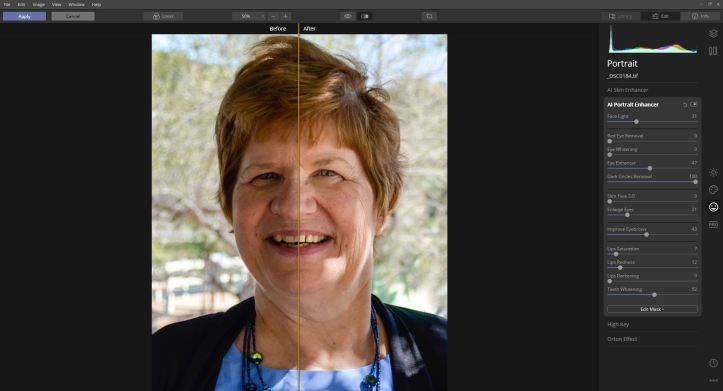
 As you can see by Luminar’s “before and after” tool, Luminar did a nice job of lightening her darkened face. It also was very helpful in tweaking some of the other facial features. Notice that I touched almost every slider, some quite a bit more than others, some not moved much at all. If your browser supports image enlargement, click on the above image for better detail. Note especially the improvement in and around the eyes. Rather than describe the function of every tool, I captured a snapshot of the toolbar. Each tool performs quite nicely in doing its assigned task.
 The last mode for me to mention in Luminar 4 is the Pro mode. It contains tools for advanced contrast, adjustable gradients, dodging and burning, and other professional tools. Only occasionally have I gone into this section of Luminar, partly because I still use Lightroom 6 and I am used to those tools. Until the day when I quit using Lightroom, I’ll probably continue to perform those tweaks in that program, only because I’m used to them and they come naturally to me. I’m not done learning Luminar’s features, and you can expect that at some point in the future, I might post a tip or technique I’ve found for using the tool. I conclude this post with the usual comment that in most browsers, you can click on an image to enlarge it for a better view.
Finally, I would be negligent if I did not recommend Jim Nix and his series of Luminar videos. He’s a master at every bit of the program, and it was from him that I learned the basics of Luminar 2018. As each new version came out, he taught me more of how to use the program effectively. To find his videos, simply go to YouTube and put “Jim Nix” in the search bar. There are plenty of tutorials to choose from.
John Steiner

Easy to see from those warm smiles that these three ladies have beautiful hearts to match their beautiful faces
It was a fun day and those photos make great memories of a great family gathering.
Lovely portraits. Catches their happiness.
Happy times and happy faces. Thanks for stopping by and commenting.
I don’t claim to be a portrait photographer either. No. But I have taken a few wonderful shots of my grands and family – frame worthy. Also, this new phone (I don’t know, I think it’s a 9 or 10 something or other, my son picked it out for me) takes wonderful photos of all sorts of things. There are a few settings on the camera I haven’t tried yet.
I just got a new phone and the camera is working nicely. When I get used to it, I will write a mini review.